Parabolic Domes
   A common shelter for meeting and preparing meals would be a top priority in an emergency situation, and a bolt-together frame that could be covered with any available material would be a good candidate. A set of struts prepared before-hand would take up little storage, and could be shipped to places in need.
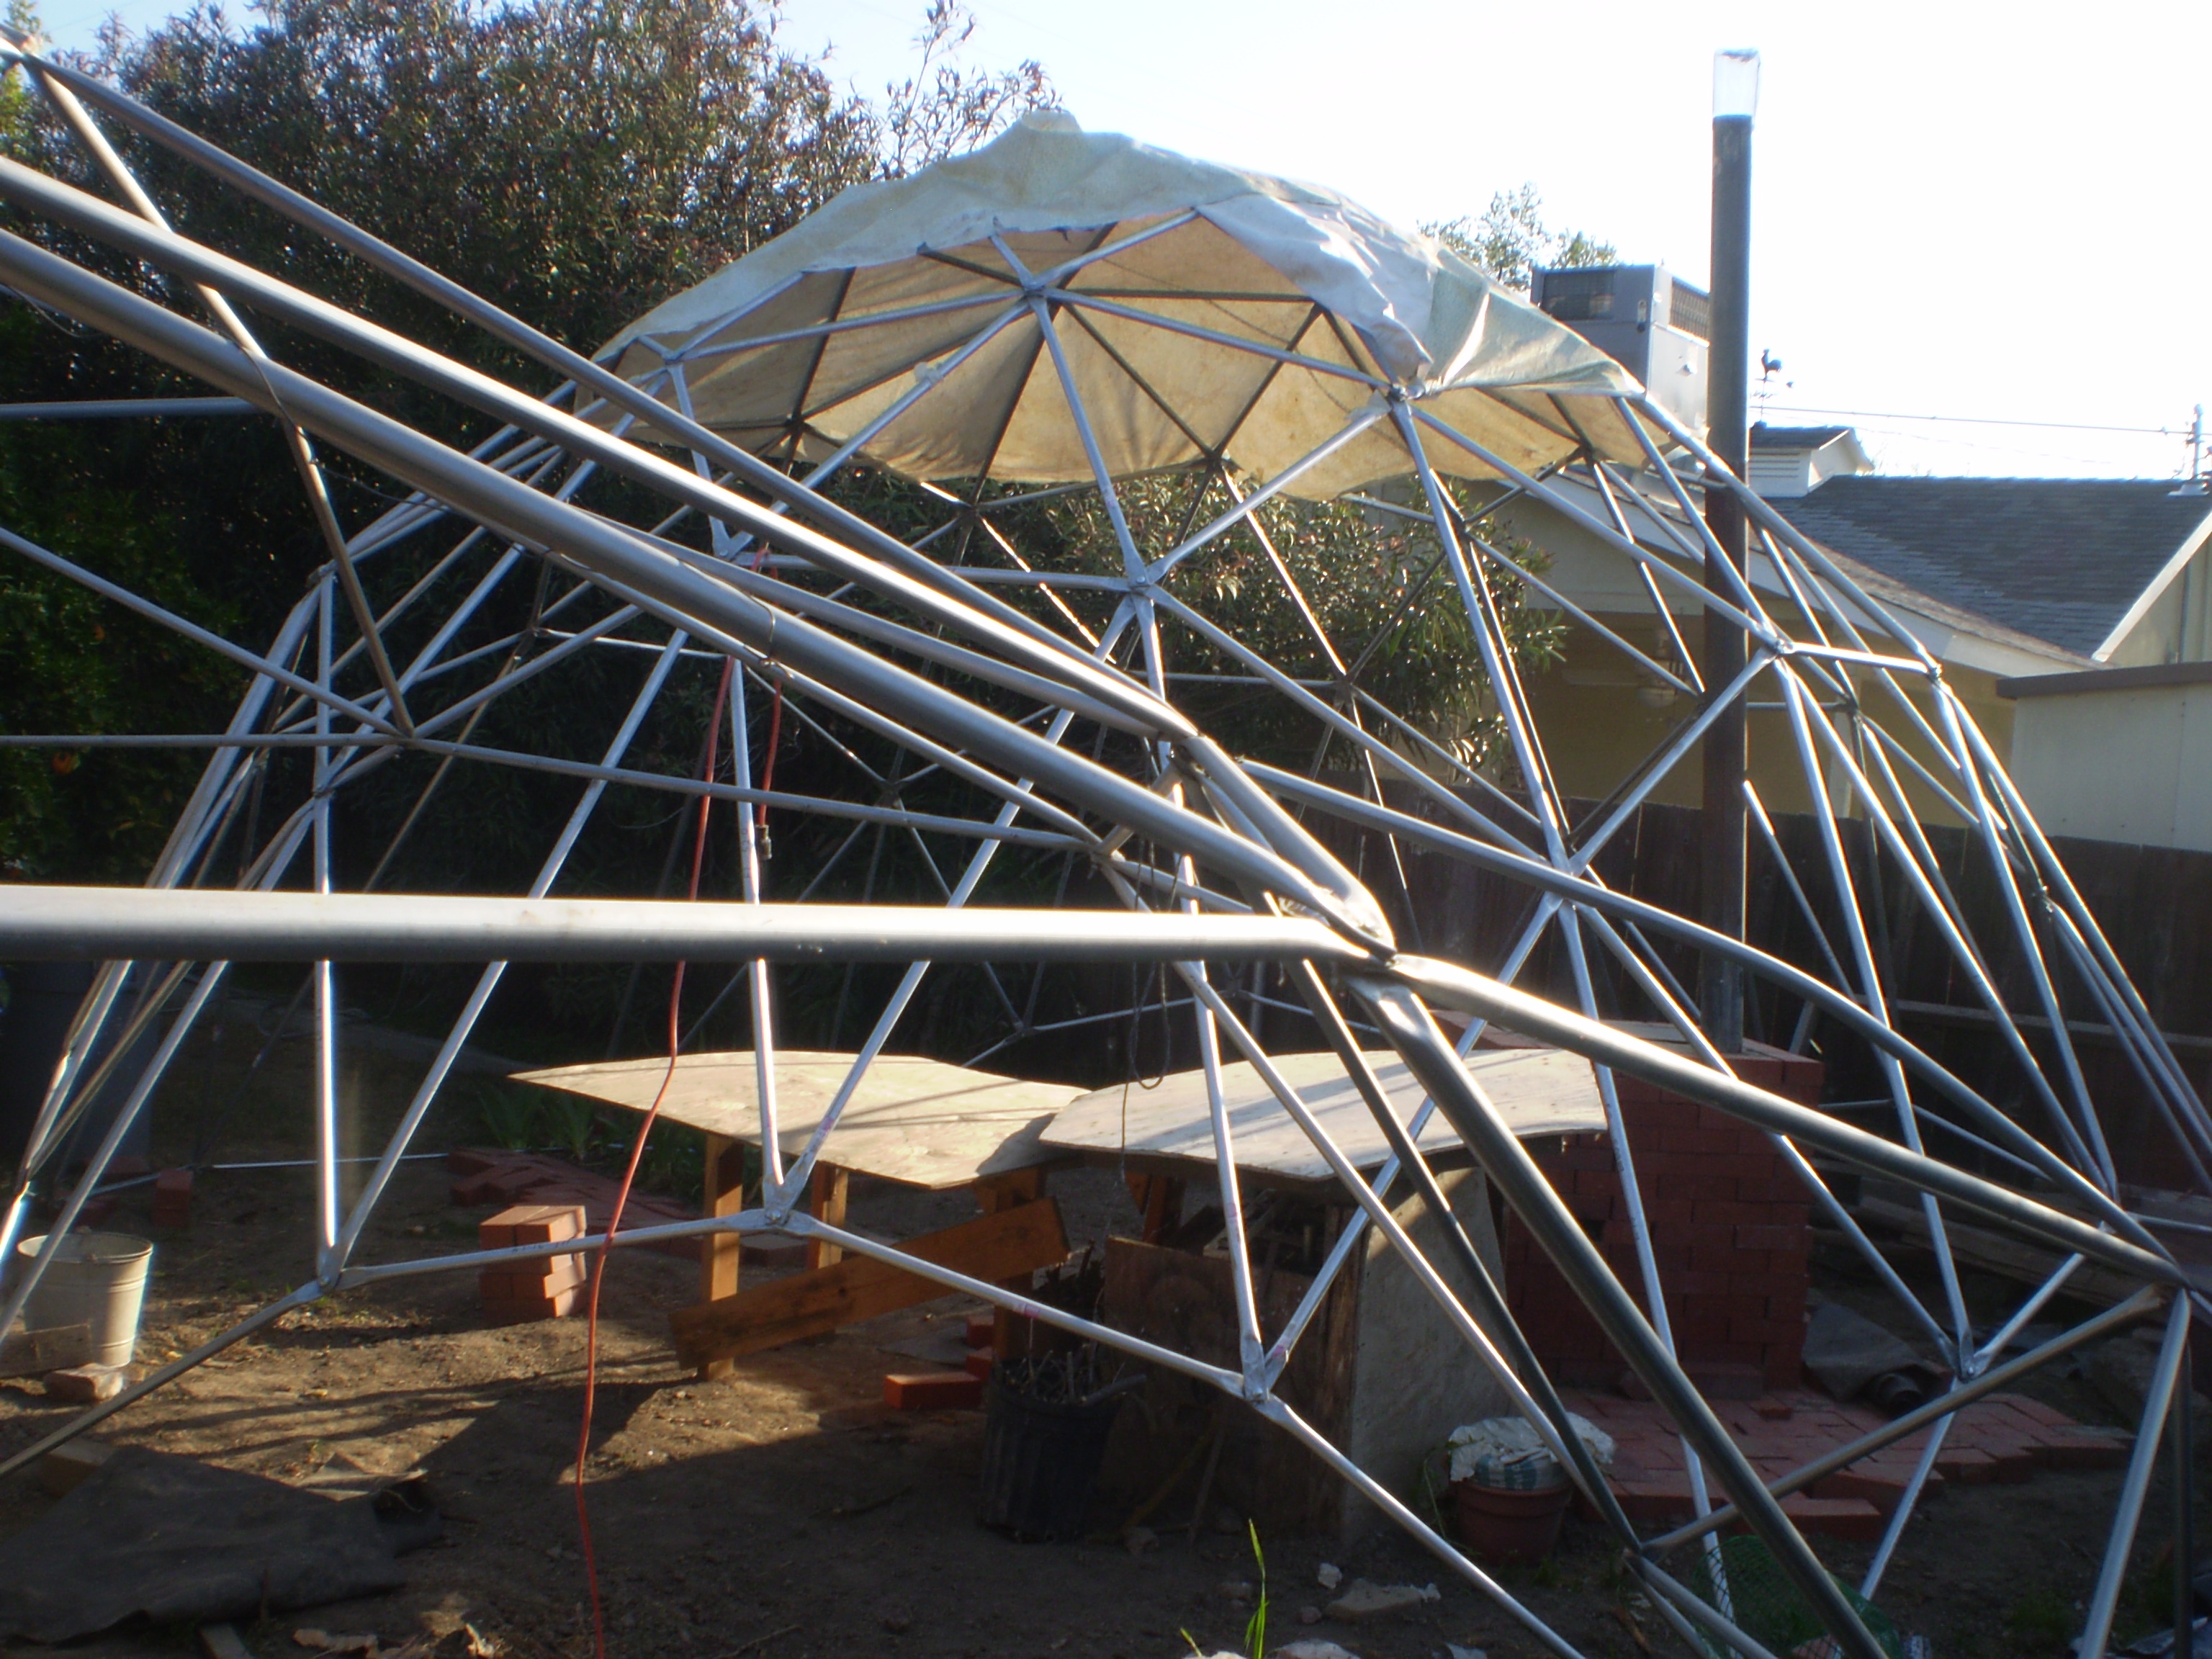
   The photo above shows a twenty foot diameter parabolic dome that is ten feet tall. Construction is simple: 3/4” metal conduit is cut to lengths, the ends are flattened and drilled, and then bolted together.
   At a little over 300 square feet, this could provide emergency shelter for about 15 people (at 20 sq.ft. per person), but as long as we're going to the trouble, a 28 foot dome would provide enough for about 30. In addition, since it would be 14feet tall, there would be a useful overhead space.
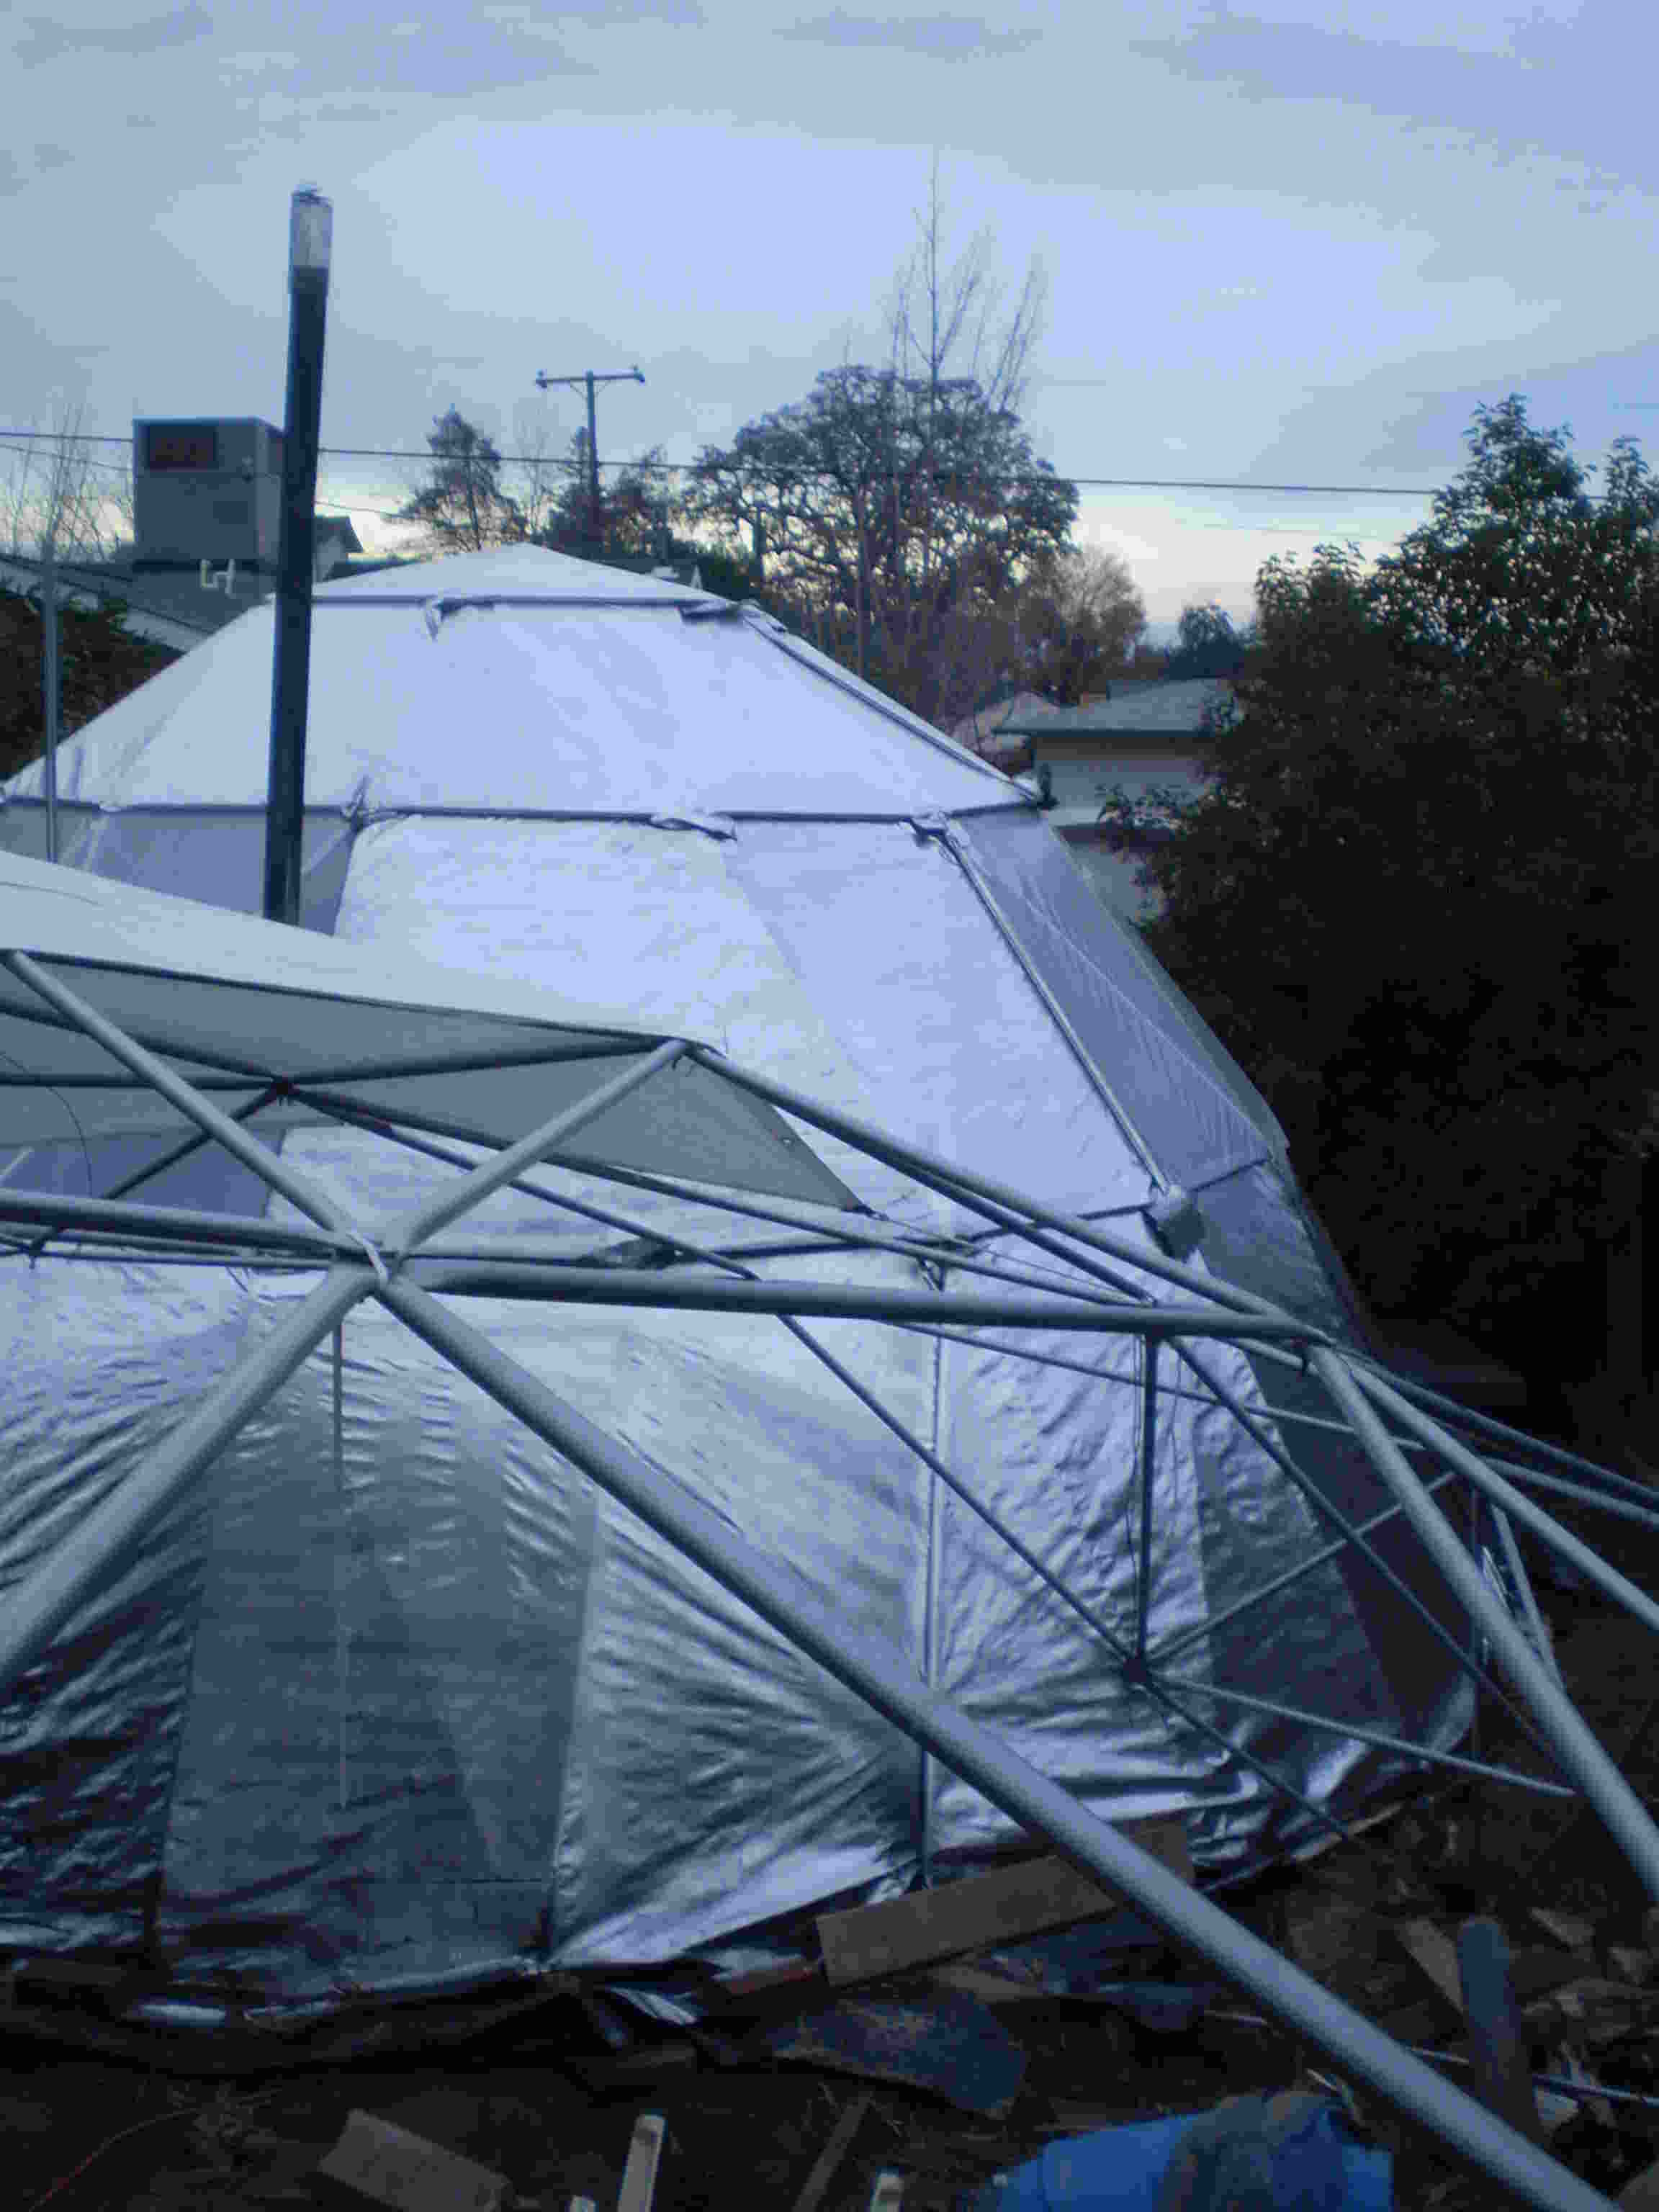
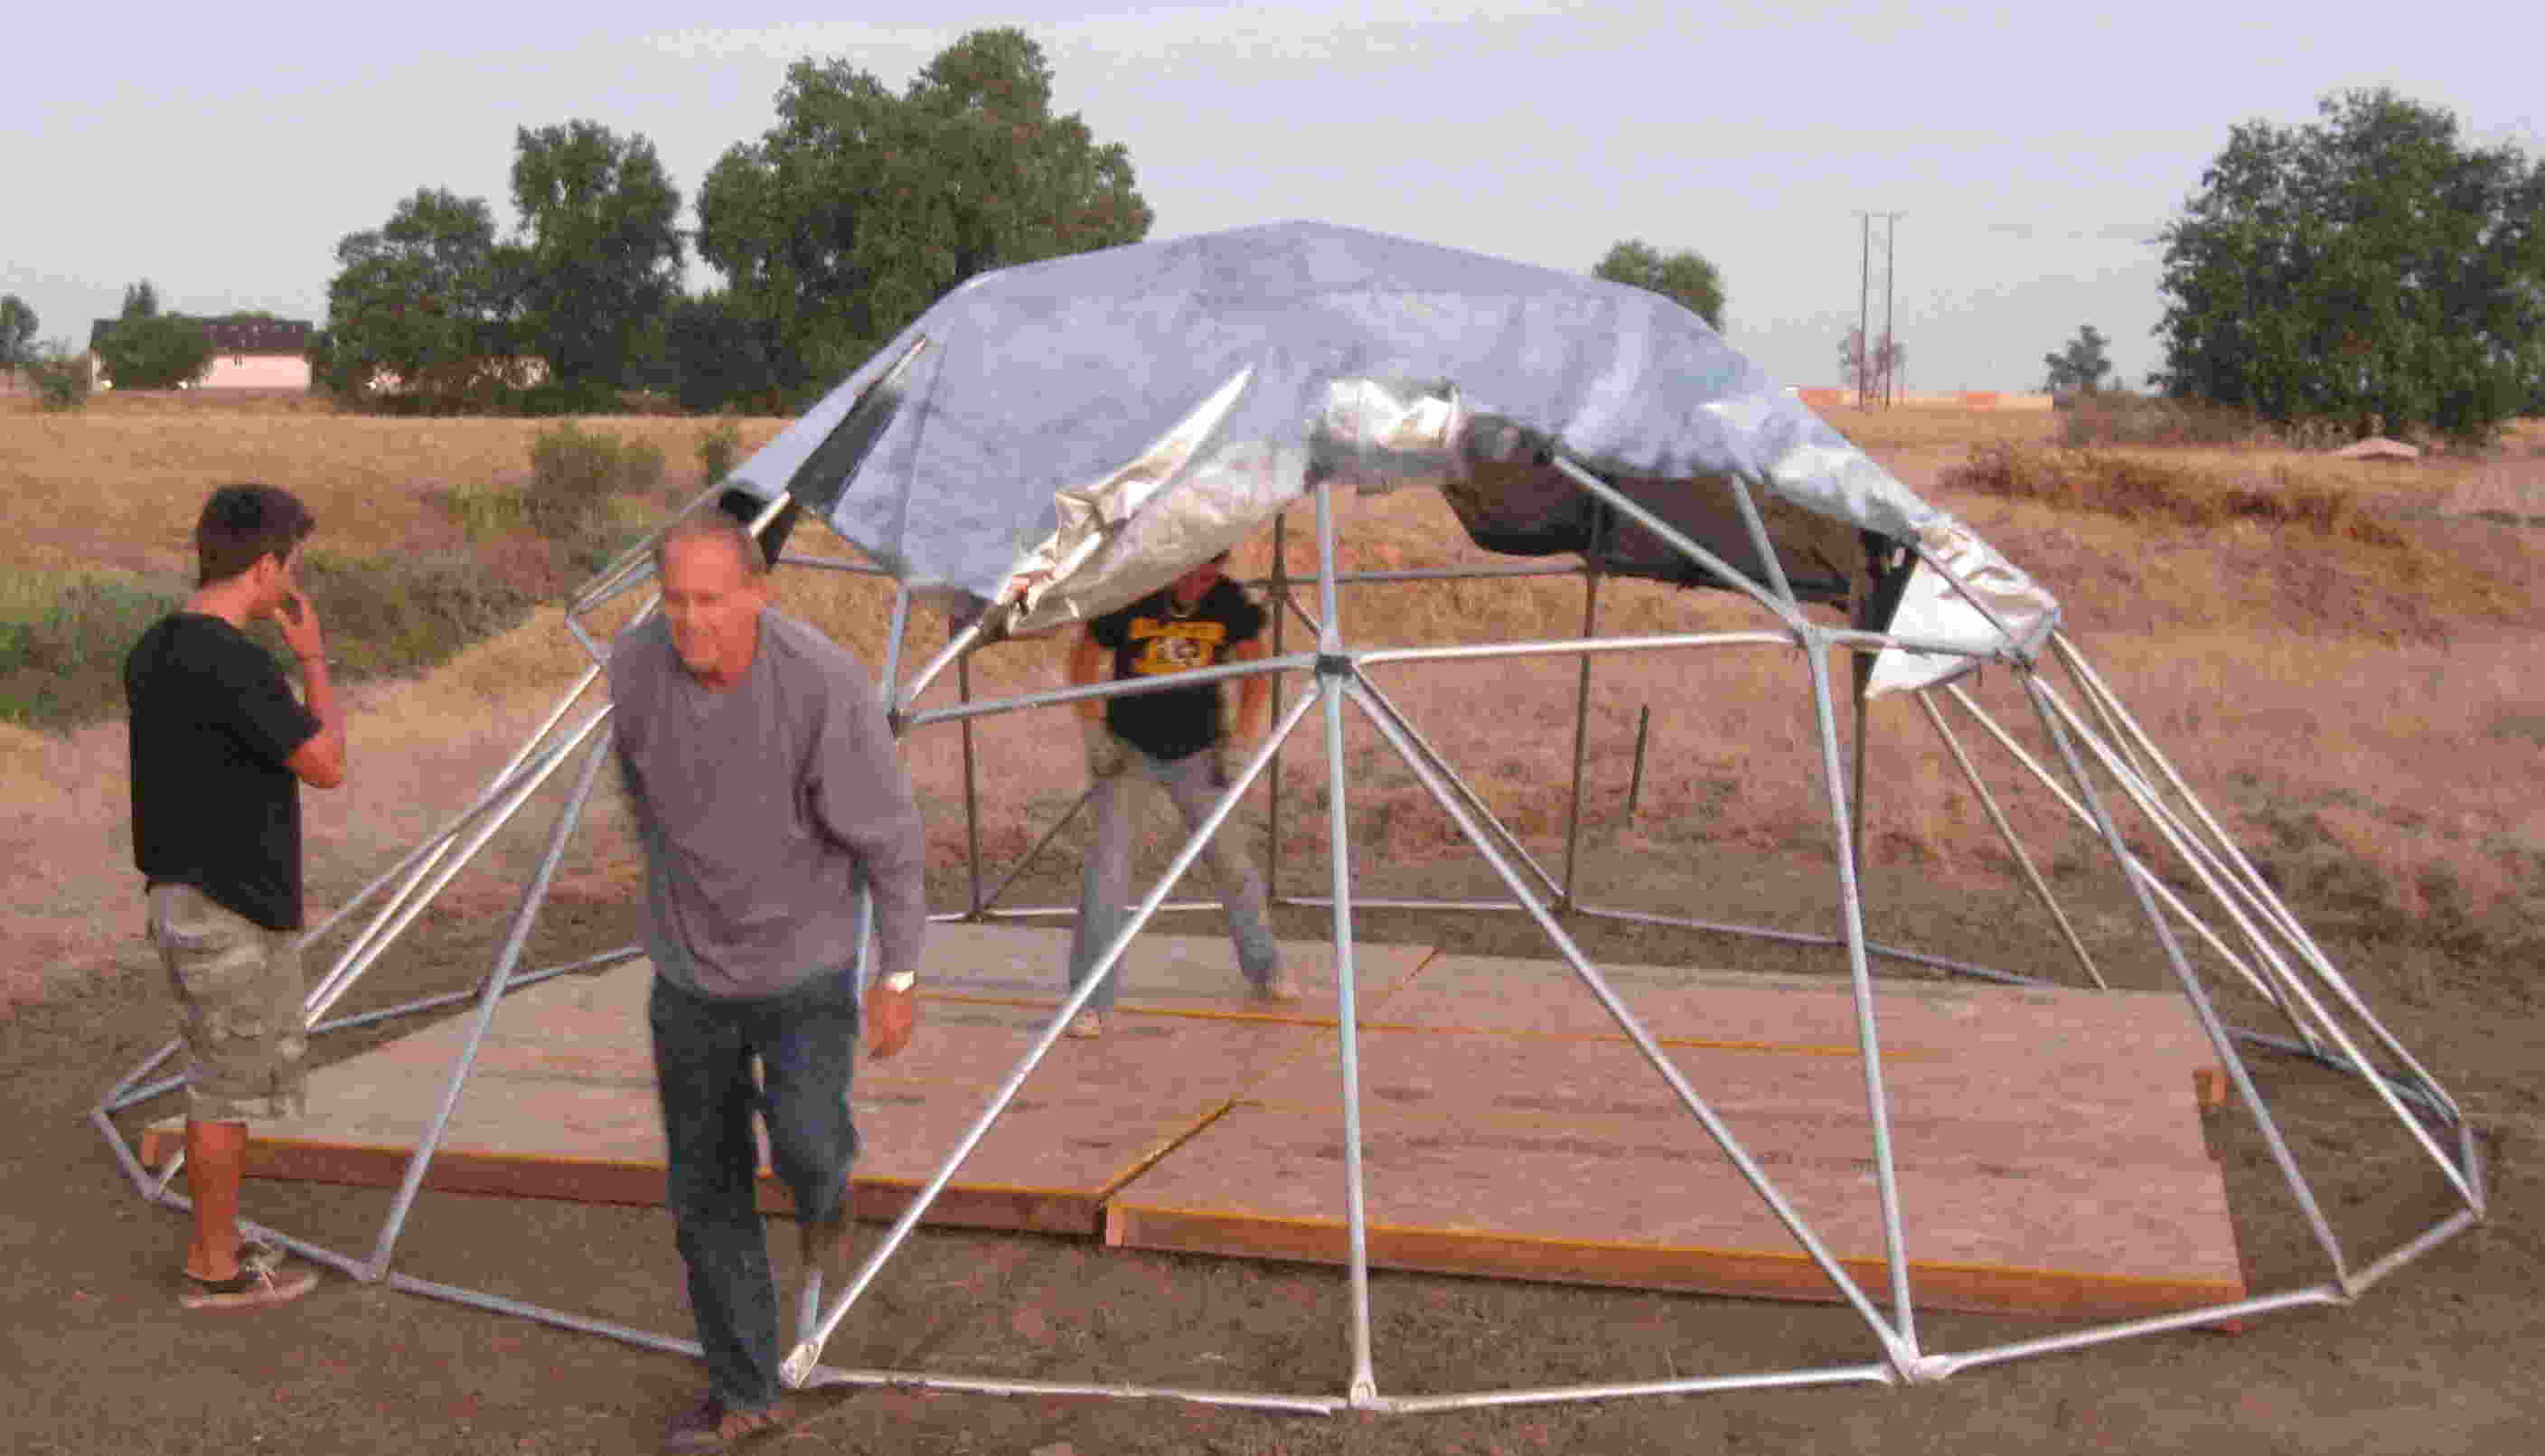
This photo is of such a dome being assembled to serve a homeless camp.
   For a structure this size you would need thicker tubing, so it utilizes top rail such as is used along the tops of chain link fences.
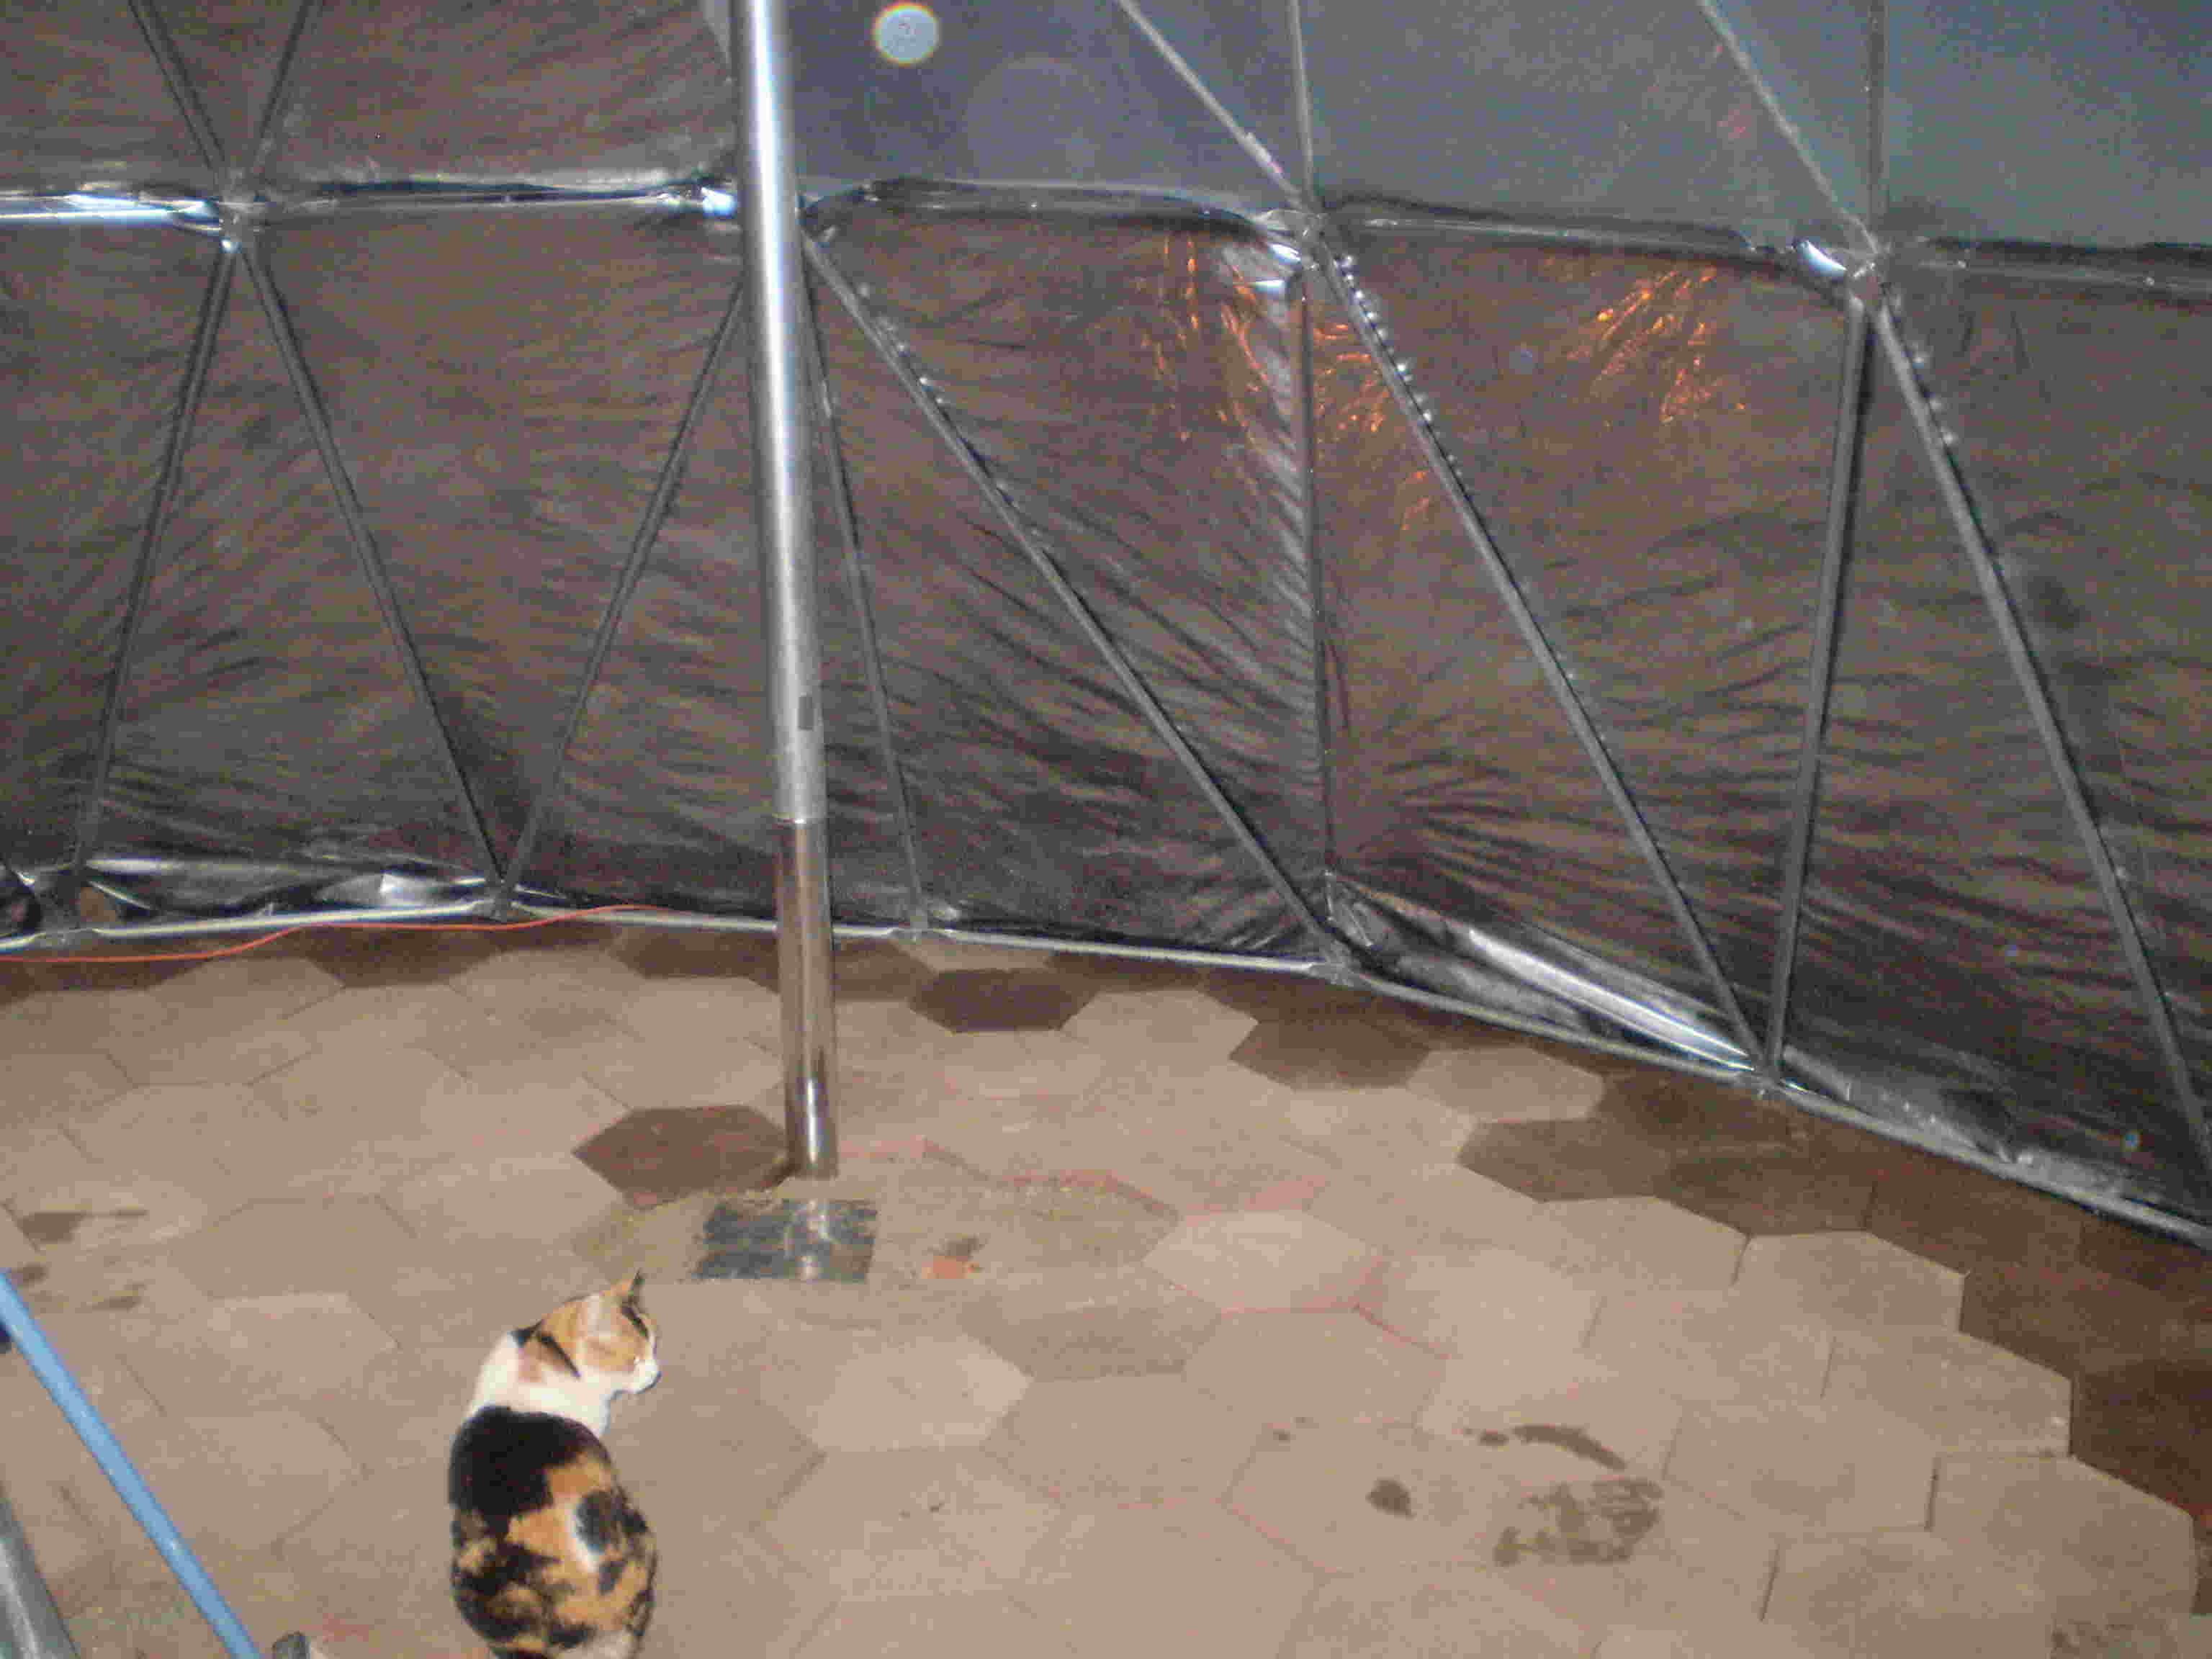
   With a wood-fired cook stove, this structure could provide community meals as well as emergency sleeping space. It would remain as a community center long after residents had developed their private dwellings.
   If we define both the height and radius as equal to one, we have a surprisingly easy way to calculate lengths for any size dome. The “chord factor” of a strut is simply its length divided by the radius of the dome. For a dome with a 10' radius, such as the one pictured above, a chord factor of 0.284 would mean a strut 2.84 feet long (0.284 times 10 feet). So if you wanted a dome 5' tall (10' diameter), the strut would be 1.42 feet long (0.284 times 5).
   We can also apply this measurement principle to calculating the height of each of the vertices's where the struts meet. The point at the top for instance would have a “chord” factor of exactly 1.
The dome is simpler than it looks. It is based upon a hexagonal pattern, so once you get one sixth of if down, the rest is repetition.
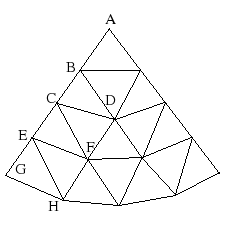
   This illustration shows one sixth of a dome. It is different from the one in the photo, because each row (E-F-F-E for instance) of vertices's defines part of a circle, rather than the sides of a hexagon as the one above. This is a more stable design in that it makes solid, level contact with the ground.
   The vertices's where the strut ends meet are by letters. The individual struts are identified by the pair of vertices's they connect. For the actual data, we can begin by giving the height relative to the radius for each of the points on the dome.
point
height
ht. for 14'
A
1.0000
14.00
B
0.9375
13.125
C
0.7500
10.5
D
0.7500
10.5
E
0.4375
6.125
F
0.4375
6.125
G,H,I
0.0000
0.00
   Since values are given in fractions of a foot, use a tape measure that includes decimal fractions. Keep in mind that the distances given are to the centers of the holes drilled. For structures using top rail I would recommend adding about 1/10th of a foot to each end to protrude beyond the center of the bolt hole. To do this, you would add 0.1 feet to each calculated length.
Strut Name
Chord Factor
Center-center
for 14' height
Center-center
plus 0.1 feet
AB
0.25769
3.6077
3.7077
BB
0.25000
3.5000
3.6000
BC
0.31250
4.3750
4.4750
BD
0.36214
5.0700
5.1700
CE
0.40020
5.6027
5.7027
CF
0.45320
6.3447
6.4447
CD
0.25882
3.6235
3.7235
DF
0.41419
5.7986
5.8986
EF
0.26047
3.6466
3.7466
EG
0.50389
7.0545
7.1545
EH
0.55228
7.7320
7.8320
FF
0.26047
3.6466
3.7466
FH
0.50952
7.1333
7.2333
FI
0.52602
7.3642
7.4642
GH,HI
0.26105
3.6547
3.7547

Parabolic Domes
   A parabolic surface (like the small end of an egg) is the strongest structure known to mankind, and you don’t even need a computer to design one.
   The simple calculations can be performed on any cheap hand calculator with a square root function – that and a little grade-school math is all you’ll need. With these you can design domes of any size, proportions, and shape – hexagonal, square, rectangular, and even triangular.  The photo below shows part of a 20 X 24 foot structure based upon these principles. The material is ¾” metal electrical conduit, with the ends flattened and drilled to accommodate bolts.
   A number of years ago I made a structure 20’ square by 5’ deep out of top rail used for chain link fences. I used this to cover the space between our back porch and a small shop. I covered it with chicken wire, which supported 6-mil plastic, which was in turn covered by another layer of chicken wire to keep the wind from removing the plastic.
This successfully withstood a significant snow loads, and provided a convenient place to split and store firewood. I even suspended a deck from this ceiling where the kids could safely play and camp out, even when it was raining (Security was provided by an impressive dog that loved the kids and very few others).
   There are only two simple formulas you will need: y=x squared for parabolas, and the Pythagorean Theorem (C squared = A squared plus B squared).
   First determine the size and shape you want, and draw a top view of it. Then draw lines connecting opposite points. This top view will divide your structure into triangles, and of course you only need to make the calculations for one of them.
   Now you need to decide how complex you want your dome. The more complex it is, the more vulnerable it is to having any given point pushed inward.
Picture a 6’ diameter hexagon of pieces bolted together on the ground with six pieces coming together at the center to form a peak about two feet off the ground. This point could hold a tremendous amount of weight. However, if the point in the center were only about 2 inches off the ground you may be able to push it in just by stepping on it.
The simpler it is, the longer the pieces, but as the complexity increases the load bearing ability drops off.
   The first level of complexity would of course be simply the pieces defining the perimeter with pieces from the points joining at the center. The second level would be to divide each of these lines in two and connect lines to these points. Each of the original triangles now contains four triangles, and so-on to whatever level of complexity you desire.
   Phase 1 of the calculations uses the Pythagorean Theorem (and your head), to calculate the distance from the center for every point the struts meet (each vertex). This is only needed for one of the repeating triangles of course, and it would be good to number or letter each of these points. I prefer a sequence of letters, with “A” being at the center. In this manner, each strut has a name (“A-B, B-C, B-D” etc.). To help keep track of the calculations create a table with each letter in the left-most column. A spread sheet is ideal for this. Calculations will be recorded in columns to the right.
   A second table will be needed with each strut name (“B-D” etc.) on the left-most column. Calculate the horizontal distance covered by each strut. In the case of the hexagon, the horizontal distances will all be the same; in any case there will be lots of repetition. Enter these values as the first column to the right of your strut names.
   Phase 2 may require a little more thinking, but not much. It begins with deciding how tall you want it to be at the center. You then divide the distance from the center to each vertex by the height at the center.  The distance of the outermost points, divided by the height gives you the basic proportion for calculating the height of the rest of the points.
For instance: if your height is 12 feet, and the distance from the center to a ground point is 16 feet (your diagonal dome size being 32 feet), your fraction is 0.75. Your dome is ¾ as tall as its radius in this case.
   Square the fraction for each of the other vertices as well, and record them in a column next to the vertex labels. These numbers provide a relative vertical distance for each point on the dome.
Since you know that the vertical distance between the center and points resting on the ground equals the height of the dome (which you selected), you can use these proportions to calculate the vertical distance from the center for every point on the dome. Translate these numbers into height off the ground for each point, by merely subtracting these numbers from the height at the center.
Record these heights in a final column, to the right of the vertex-names. Since you now know the height for each end of each strut, along with the horizontal distance for each strut, Pythagoras can tell you how long each strut is.
   A couple words of advice: 1. I have never built a full-scale dome without first building a scale model, and it has usually been a good thing. 2. If you are covering your dome with plastic or a tarp, face the bolt ends inward, and cover the heads and strut ends with duct tape, to keep them from tearing the membrane.
   The strength of this structure can never be realized if the vertices along the outside edges are unsupported. Just having the outermost points on the ground still allows these other points to flex. However, I have had a practical level of stability by just supporting the vertices closest to the corner.


6-Frequency Parabolic
   By multiplying the chord factor times the radius (or height) of the desired dome, you can calculate the center-to-center hole distance for each chord for any size of dome you desire. The layout for the chords is displayed in the table below this graphic.

Point
Height
Chord
Chord Factor

A
1
AB
.16890

B
0.9722
BB
.16667

C
0.8889
BC
.18634

D
0.8889
BD
.22272

E
0.7500
CD
.17255

F
0.7500
CE
.21695

G
0.5556
CF
.25916

H
0.5556
DF
.22832

I
0.5556
EF
.17365

J
0.3056
FF
.17365

K
0.3056
EG
.25610

L
0.3056
EH
.29715

M
0
FH
.26100

N
0
FI
.27516

O
0
GH
.17403

P
0
HI
.17403


GJ
.30046


GK
.33846


HK
.30298


HL
.32242


IL
.31042


JK
.17421


KL
.17421


LL
.17421


JM
.34805


JN
.38270


KN
.34951


KO
.37082


LO
.35384


LP
.36093


MN
.71431


NO
.17431


OP
.17431


A


B

B


C

D


E

F

F


G

H

I


J

K

L

L
M

N

O

P